The Home Pole: Setup, Safety and Practicing Between Classes
Quick Answer: To install a pole at home you need a solid ceiling joist, an accurate ceiling-height measurement, and a 45mm pressure-mounted or permanent-mount pole from a reputable brand. Pressure-mounted poles work for renters but must be re-checked with a push-pull test before every session. Learn new moves at the studio; use the home pole to consolidate and condition.
The between-class practice question eventually becomes a purchase. And the home pole is the piece of equipment where “I found a cheap one online” turns into a story you tell in an emergency room.
Installed properly, it roughly doubles your rate of progress. Installed casually, it’s a ceiling repair waiting to happen.

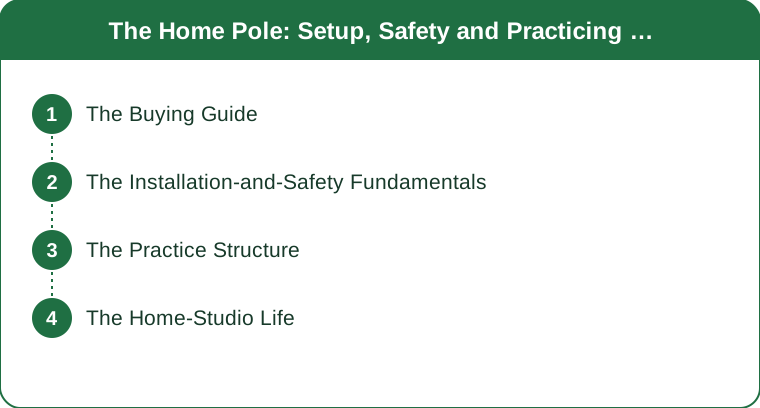
Which Type of Home Pole Should You Buy?
Pressure-mounted (removable). The renter-friendly standard. It tensions between floor and ceiling with no drilling — but only works on ceilings that can take the load, which means a solid joist above the mounting plate. Not for suspended ceilings, plasterboard without backing, or anything textured and uncertain.
Permanent-mount. Bolted into the joist. The right answer if you own the place and train seriously. More stable, higher weight tolerance, and the one to choose if you’re doing dynamic work.
Freestanding stage. No ceiling contact at all. Solves sloped ceilings, popcorn ceilings, and rentals with strict rules — at the cost of significant floor space and a higher price.
The specs that matter:
- 45mm diameter is the studio standard. Match it, or your home grip won’t translate to class. (40mm is easier to grip, 50mm is harder — but training on a different diameter than your studio is counterproductive.)
- Spinning and static dual mode. Switchable poles serve both training styles. Worth it.
- Finish matched to your studio. Chrome is the common default. Stainless, brass and powder-coated all grip differently, and switching between them mid-progress is frustrating.
On price: this is safety equipment holding your inverted bodyweight. The marketplace bargain pole is the one category where the cheaper-dupe logic completely fails. Buy the reputable brand.
How Do You Check Your Ceiling Before Buying?
Do this before you order, not after.
- Find the joists. A stud finder, or the knock test. You need a solid joist directly above where the pole will stand — not just drywall.
- Measure ceiling height accurately, at the exact spot the pole will go. Poles come with extension sections sized to specific ranges.
- Check for slope or texture. Sloped ceilings rule out pressure mounting entirely. Textured or popcorn ceilings prevent the mounting plate seating flat.
- Look above. Know what’s up there — pipes, wiring, the neighbours’ floor.
- Check the floor too. Pressure poles need a firm, level floor. Thick carpet compresses and lets the pole loosen.

What Are the Non-Negotiable Safety Rules?
Follow the manual exactly. Every brand differs on tightening sequence and torque. This is not the moment for intuition.
Push-pull test before every single session. Grab the pole at head height and push hard, then pull hard, then hang your weight and check for any movement or ceiling-plate shift. Thirty seconds, every time. Pressure poles loosen with temperature changes and use. This one habit prevents the story nobody wants to tell.
Clear arm-span plus a metre in every direction. Coffee tables get discovered mid-spin exactly once. Check overhead clearance for your tallest move too.
Get a crash mat before you invert. The studio has sprung floors and an instructor spotting you. At home you have your mat decision. For invert-tier practice, it isn’t optional.
Learn new moves at the studio. Home is where you consolidate what class already taught. First-ever attempts of anything airborne belong where an instructor can catch you. The home pole is a rehearsal room, not a frontier.
5 Mistakes Everyone Makes
- Skipping the pre-session mount check. It takes half a minute and it’s the entire safety system for a pressure pole.
- Buying a different diameter than the studio’s. You’ll build grip strength that doesn’t transfer and get frustrated in class.
- Moisturizing before practice. Lotion and pole grip are enemies. Moisturize after, never before. This is the third mistake and it derails more home sessions than any other.
- Skipping the warm-up because you’re at home. The studio’s mandatory ten minutes exists for a reason. Cold pole practice is how home training earned its bad reputation.
- Trying the new move from class, alone, immediately. Consolidate the moves you already own. Learn the new ones where someone can spot you.
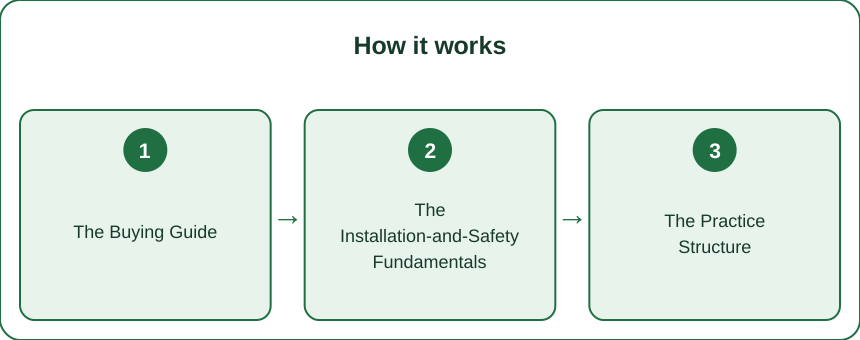
What Should You Actually Practise at Home?
Conditioning is the highest-value use — and almost nobody prioritizes it. Grip holds, tuck holds, shoulder work, and hollow-body holds. Twenty minutes, twice a week, moves nearly every studio milestone. See the pole conditioning guide for a structure.
Drill what you already know. Spins and transitions you’ve been taught, repeated far more times than class time allows. Volume is the thing home practice provides that studio can’t.
Flow practice. Linking known moves into sequences — creative work that needs time and no audience.
Flexibility. Splits and backbend progress happen in the between-class sessions, not the class itself.
Film yourself. Phone propped on a shelf. It’s the closest substitute for an instructor’s eye, and you’ll catch things you cannot feel.
Warm up 10 minutes, every time. Non-negotiable.
FAQ
Can you install a pole in an apartment?
Usually yes, with a pressure-mounted pole — provided there’s a solid joist above and your lease permits it. Check your rental agreement about ceiling fixings even for non-drilling installs, and be realistic about noise for downstairs neighbours.
How often should you check a pressure-mounted pole?
Before every session, with a push-pull test. Also re-tension it after any significant temperature or humidity change — poles loosen seasonally.
Do you need a crash mat at home?
For spins and floor work, no. For anything inverted or above hip height, yes. It’s the single most important safety purchase after the pole itself.
How much does a home pole speed up progress?
Twice-weekly home practice typically compresses milestone timelines substantially — the studio teaches, home consolidates. The gains come mostly from conditioning and repetition volume, not from attempting new tricks.
TL;DR:
- Choose pressure-mounted (renters), permanent-mount (owners, serious training), or freestanding (difficult ceilings).
- 45mm diameter, spinning/static dual mode, finish matched to your studio.
- Audit the ceiling first: solid joist, accurate height, no slope or texture, firm floor.
- Push-pull test before every single session — 30 seconds, non-negotiable.
- Crash mat required for anything inverted; clear arm-span plus a metre around the pole.
- Never moisturize before practice; always warm up 10 minutes.
- Learn new moves at the studio. Home is for conditioning, drilling and flow.
Keep Reading
This article is for general informational and styling purposes only. Fit, sizing, and product availability may vary — check current details before purchasing.